Summary
In this part of the tutorial we will cover creating your first project. We will also show you where your project is created so you can copy & backup.
Steps
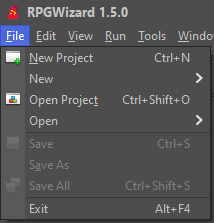
Open the RPGWizard editor and go to the File > New Project. Alternatively you can use the keyboard shortcut CTRL + N for faster access:
You will then be asked to provide a name for your new project, this name will be used to create the folder your game lives in. This name will also be used as the display name for the project, although that can be changed later in the project editor.
For the Template select Blank Project, we'll be creating this project from scratch but in RPGWizard you can create a new project based on one of the demo projects too.
Be careful not to use the special characters <>:"/|?* as they are forbidden in folder names in most operating systems.
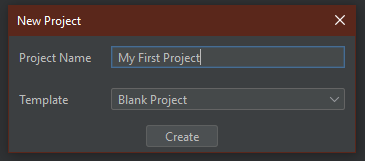
When you have decided on a name click "OK" and then the editor will go off and create the required project structure.
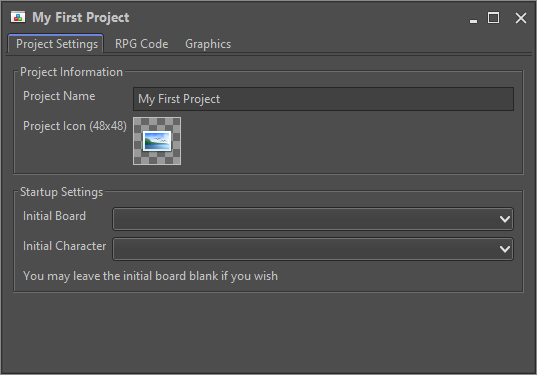
After the project has been setup you will be presented with the project editor, this editor can be used to configure your project startup settings.
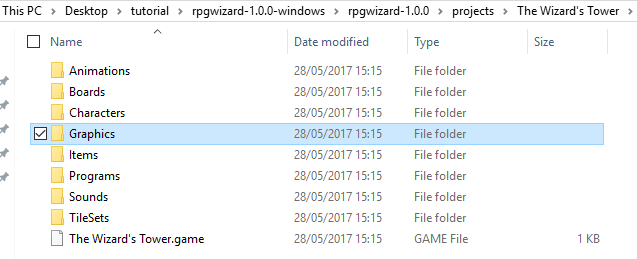
If you look under the "projects" folder included with the RPGWizard you should see a folder with your project name. This is where everything related to your project will be stored and if you ever want to backup it up then you can simply copy this folder somewhere else.

Copying the Starter Assets
For the next part of this tutorial you will need to replace the "Graphics" folder in your project with a copy of the "Graphics" folder from the demo "The Wizard's Tower". This folder contains all the image files you will need for the rest of the tutorial.