Summary
In this part of the tutorial we will create our first board. A board is an area in which the player can walk around and explore during the game. They are made up of a grid of tiles, activation vectors, collision vectors, and board sprites.
NOTE: The maximum size of a Board is 50 x 50 tiles for performance reasons, bigger sizes have been tried but at this time they are too slow to edit and explore.
Steps
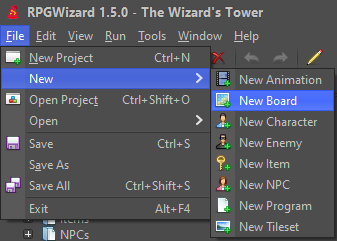
To create a board go to File > New > New Board.
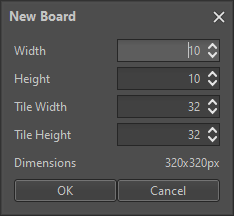
By default it is configured for grid made up of 10 x 10 tiles that are 32 x 32 in dimension. For this tutorial we shall leave it at the default so simply click "OK".
At this point you will have a blank board with a single layer which isn't interesting on its own. So make sure you have the tileset from the last tutorial open so we can start adding some tiles to it.
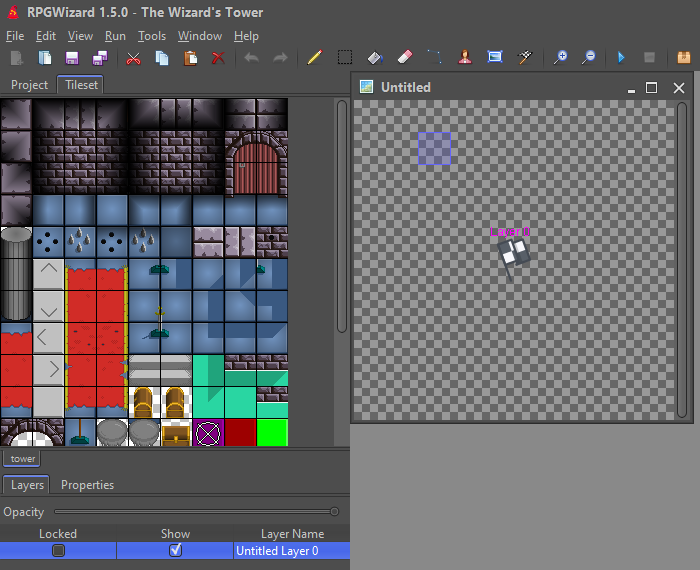
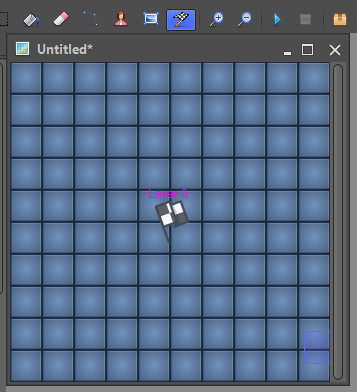
Board Tools
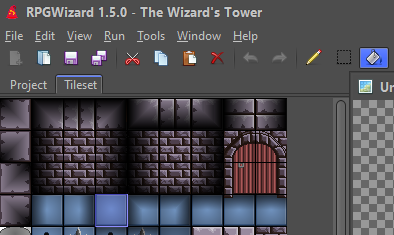
Along the main window's toolbar you'll notice a set of image editor like controls a pencil, selection, bucket, eraser, vector, sprite, and a flag. All of these can used to manipulate boards in one way or another, some of them can even be combined like the selection tool and the bucket brush. By the end of this tutorial series you will have used each of these tools:
- Pencil Tool: Used to draw a single tile on the board, can be dragged.
- Selection Tool: Selects a region of tiles for manipulating.
- Bucket Tool: Pours the selected tile onto the board, can be combined with the selection tool.
- Eraser Tool: Erases a tile, or a region of tiles if combined with the selection tool.
- Area Vector Tool: Adds rectangular collision and activation vectors to a board.
- Freehand Vector Tool: Adds freehand collision and activation vectors to a board.
- Sprite Tool: Places a board sprite onto the board.
- Start Tool: Sets the starting position of a player for this board.
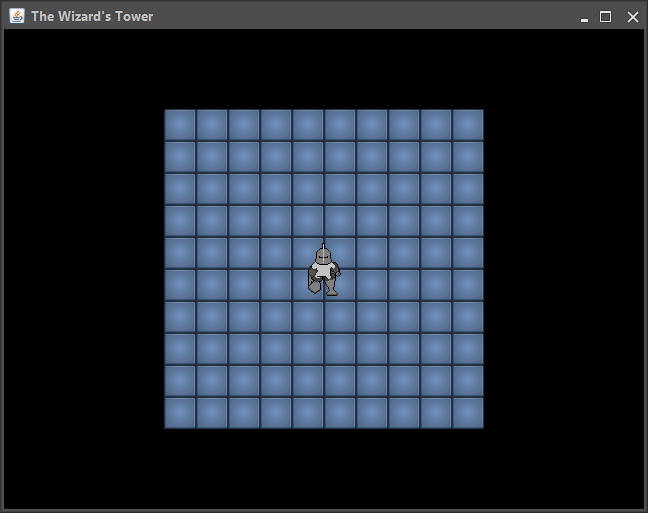
For this next part simply select a tile from the tileset then switch to the bucket tool and fill the board so it looks something like this:
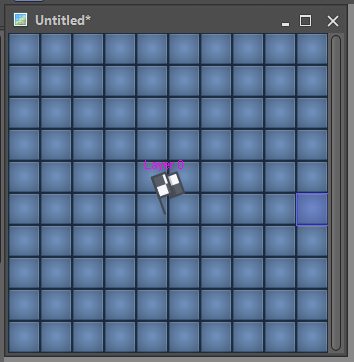
Player Start Position
Now switch to the start tool and place it on the board. This is where the player will start, it records the (x, y) position and the layer you placed it on. So if you see your character walking above things make sure you have them on the correct layer!
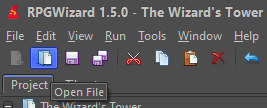
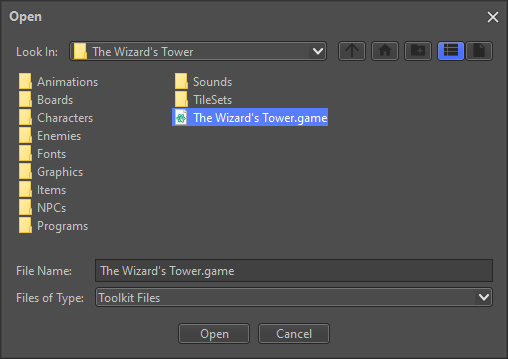
Saving the Board
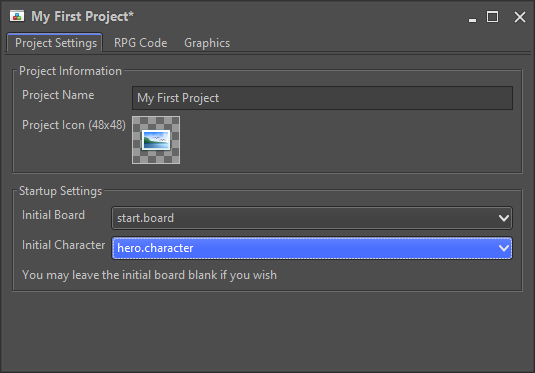
We are nearly ready to try out our game but first we need to set the starting character and board. Go to open a file and find your projects ".game" file. This will open the project editor if it is not already open.
Setting an Initial Board
Now using the available drop downs set the starting character and starting board then save.
Click the play button in the toolbar at the top and you should find yourself on the board playing as the character we created early. Hooray you've just taken your first big step in game development with the RPGWizard!
Challenge
Using the Tileset you found on Google in the previous tutorial create another board with the same dimensions. Note you cannot mix Tilesets and boards with different tile dimensions so make sure they match up!