Summary
In this part of the tutorial we look at adding a new layer to the board we have created. The layer management in RPGWizard is designed to behave like other popular image editing tools like Gimp, Paint .NET, PhotoShop etc. A board can have as many layers as you want, and there is no requirement to set every tile on a layer.
Steps
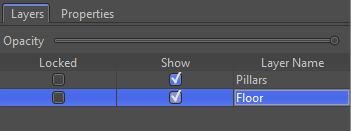
Switch to the layers tab and add a new layer above the current board layer. Then rename the layers until you have something like this:
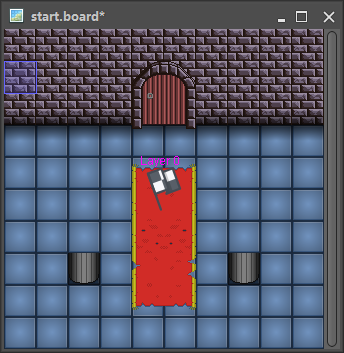
Select the bottom most layer i.e. "Floor", using the tileset we created change the board until it looks like this:
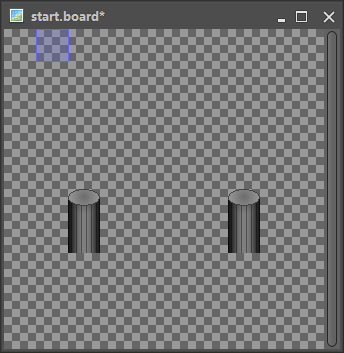
Now select the top most layer i.e. "Pillars", hide the "Floor" layer by toggling the show option and then add the top of the pillars to the "Pillars" layer.
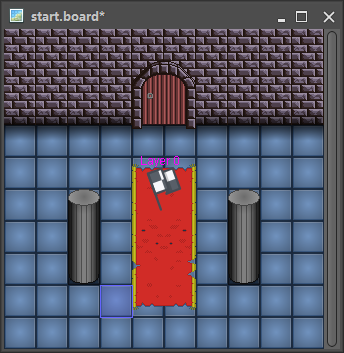
When you combine both layers you should have something close to this:
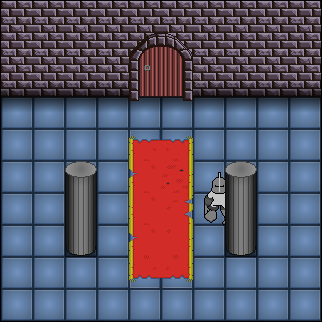
Start the game up and walk behind one of the pillars, your character should be below the top most layer:
Challenge
Play around with the other layer options, such as copying, moving up, and moving down, etc. They function like any other image editor.