Summary
In this part of the tutorial we will create our first character which the player will be controlling.
Characters are made up of a number of simple stats, a profile image, and a set of animations for things like walking. You will also be introduced to the concept of activation and collision vectors.
Steps
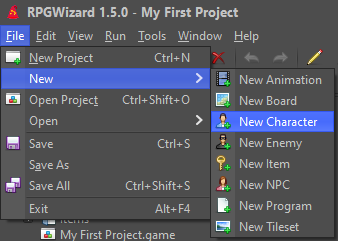
To create a character go to File > New > New Character.
Basic Stats
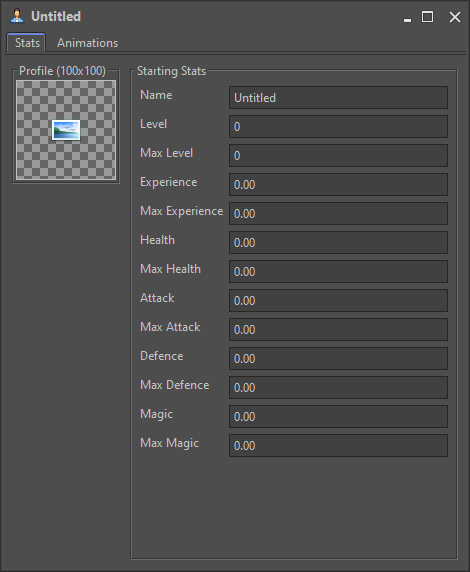
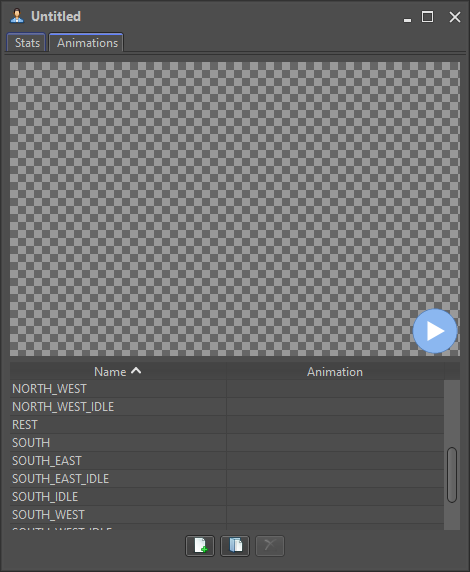
You should then be presented with the character editor. Using this you can set the character's basic stats, a profile image used in menu systems, battle systems, dialog vectores etc., and all the animations associated with them.
Try setting some of the basic stats, then double click on the empty area to the left to set an image.
Profile Picture
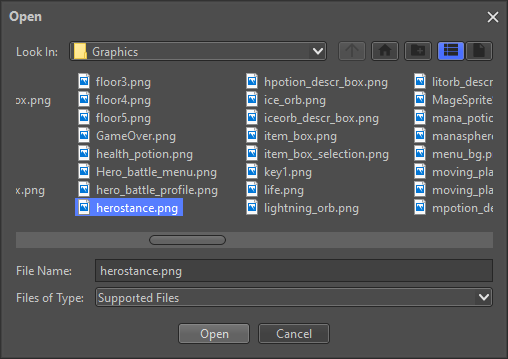
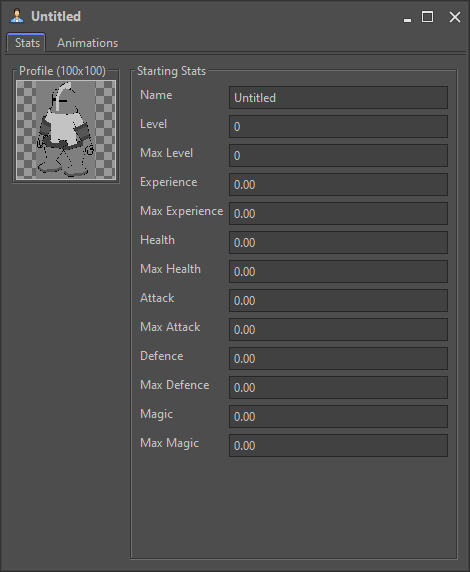
To set the profile image double click the vector and goto Graphics and open the file "herostance.png", this will be our character's profile picture.
NOTE: you will need to have copied the Graphics folder from the demo as detailed in the last tutorial for this image to show up.
Animations
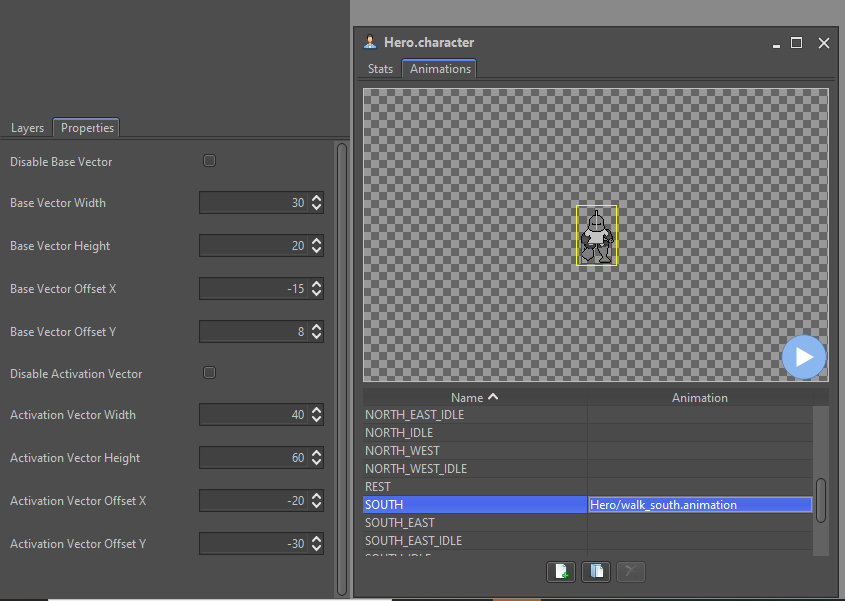
Now it is time to set an animation for our character, switch to the "Animations" tab and select the "SOUTH" entry. When you have that selected click on the folder button below it and set the matching animation you created in the last tutorial. You can even add your own animations with custom IDs for use in your game by using the new button right next to the open button.
NOTE: The delete button can only be used on custom entries you cannot delete any of the default animations. You also need to ensure that you set animations for NORTH, SOUTH, EAST, and WEST for the engine!
Playing animations works in exactly the same way as the in animation editor, just click the play button and off it goes.
Activations and Collisions
At this point you might have noticed the yellow and red vectors surrounding the character, these are the activation and collision vectors:
- Activation (Yellow): This is used to trigger events, this might be something as simple as walking up to a door that can be opened.
- Collision (Red): This is used to detect collisions with solid things e.g. a wall, and stops the player from moving through them.
If the character's activation vector intersects an object that is setup to respond to activations that will trigger an event. The same happens if the collision vector hits something solid the character will be stopped.
You can adjust the width and height of each vector using the "Properties" tab settings. The offsets refer to how far they appear from the center of the characters animations.
Disabling Activation and/or Collisions
You can even completely disable activation and collision detection for a character entirely, you typically wouldn't do this for a Character but it can be useful for certain types of effect such as being able to move through walls like a ghost!
To do this simply check the Disable Base Vector and/or Disable Activation Vector.
This can also be changed at runtime in the engine using:
// Disables both collisions and activations for the current character
const character = rpgcode.getCharacter();
character.baseVectorDisabled = true;
character.activationVectorDisabled = true;
Challenge
Set the animations on the character for the NORTH, EAST, and WEST directions.